Get Free Consultation!
We are ready to answer right now! Sign up for a free consultation.
I consent to the processing of personal data and agree with the user agreement and privacy policy

We are ready to answer right now! Sign up for a free consultation.
I consent to the processing of personal data and agree with the user agreement and privacy policy

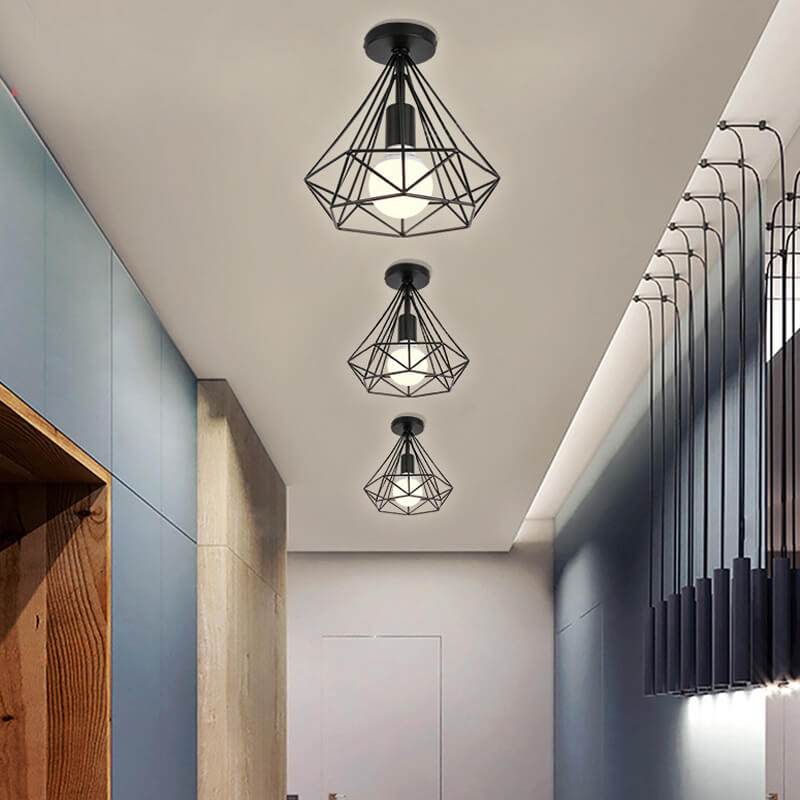
Replacing a ceiling light fixture is one of the easiest ways to upgrade your home. Not only does it improve lighting quality, but it also refreshes the overall look of your space. Whether you want to install a modern LED ceiling light or replace an outdated fixture, you can complete this project safely and efficiently with the right guidance.
In this comprehensive guide, you’ll learn exactly how to replace a ceiling light fixture, step by step, with practical tips to ensure safety and success.
First, lighting plays a key role in both functionality and aesthetics. When you replace an old fixture, you immediately:
Improve brightness and energy efficiency
Upgrade your interior style
Reduce electricity costs with LED technology
Increase property value
Moreover, modern ceiling lights often come with dimming, smart control, and adjustable color temperature, making them far more versatile.
Before you begin, gather everything in advance. This will save time and help you avoid interruptions.
| Category | Items |
|---|---|
| Basic Tools | Screwdriver, voltage tester, wire stripper |
| Safety Gear | Insulated gloves, safety glasses |
| Materials | New ceiling light fixture, wire nuts, and electrical tape |
| Optional | Ladder, drill, helper for heavy fixtures |
Before touching any wires, you must ensure complete safety.
Turn off the circuit breaker, not just the wall switch
Use a voltage tester to confirm no electricity is flowing
Never rely on assumptions—always double-check
⚠️ Skipping this step can lead to serious injury, so take it seriously.
Next, identify the wiring system.
| Wire Type | Color (Typical) | Function |
|---|---|---|
| Live (Hot) | Black / Red | Carries current |
| Neutral | White | Completes circuit |
| Ground | Green / Bare copper | Safety protection |
In addition, check the ceiling electrical box. It should be secure and rated to support the fixture weight.
Follow these steps carefully to ensure a smooth installation:
Always start by cutting off electricity completely.
Unscrew and gently lower the fixture to expose the wiring.
Carefully remove wire connectors and separate the wires.
Detach the old mounting hardware from the ceiling box.
Ensure it is stable, secure, and suitable for the new fixture.
Attach the bracket that comes with your new light fixture.
Match and connect wires correctly:
Black to black (live)
White to white (neutral)
Ground to ground
Then secure them with wire nuts.
Carefully mount the fixture and tighten screws.
Add bulbs if needed and fix the light cover or shade.
Turn the breaker back on and test the light.
Once installed, test your light immediately.
If the fixture doesn’t work:
Check wire connections again
Ensure bulbs are properly installed
Confirm the breaker is on
If the light flickers, you may need a compatible dimmer or tighter wiring.
Even simple projects can go wrong. Therefore, avoid these common errors:
Connecting wires incorrectly
Forgetting to turn off the power
Using the wrong mounting hardware
Over-tightening screws and damaging the fixture
By avoiding these mistakes, you can ensure a safer and longer-lasting installation.
Although most homeowners can handle this task, sometimes you should call an expert.
Consider hiring an electrician if:
Your home has old or damaged wiring
The fixture is very heavy (e.g., chandeliers)
You are unsure about electrical connections
Local codes require professional installation
After replacing your fixture, you can take things further:
Switch to LED ceiling lights for energy savings
Install dimmable lighting for a better ambiance
Add smart lighting systems for remote control
Choose modern designs like flush mount or pendant lights
These upgrades not only improve comfort but also increase your home’s value.
Replacing a ceiling light fixture may seem intimidating at first. However, once you follow the correct steps and safety measures, the process becomes straightforward and rewarding.
By upgrading your lighting, you not only enhance your space visually but also improve energy efficiency and functionality. So, with the right tools and a bit of confidence, you can complete this DIY project successfully.
Quick customized solution,and it takes 3-10 days after confirming detail.
If you like our lights, one free sample can be provided for reference.
We focus on high quality lights only. Your interiors need high quality.
Top quality lights has very high value. We protect it well for shipment.
Our team is available 24/7, and you can expect a response to your inquiries within 2 hours.
We are ready to answer right now! Sign up for a free consultation.
I consent to the processing of personal data and agree with the user agreement and privacy policy
