Get Free Consultation!
We are ready to answer right now! Sign up for a free consultation.
I consent to the processing of personal data and agree with the user agreement and privacy policy

We are ready to answer right now! Sign up for a free consultation.
I consent to the processing of personal data and agree with the user agreement and privacy policy

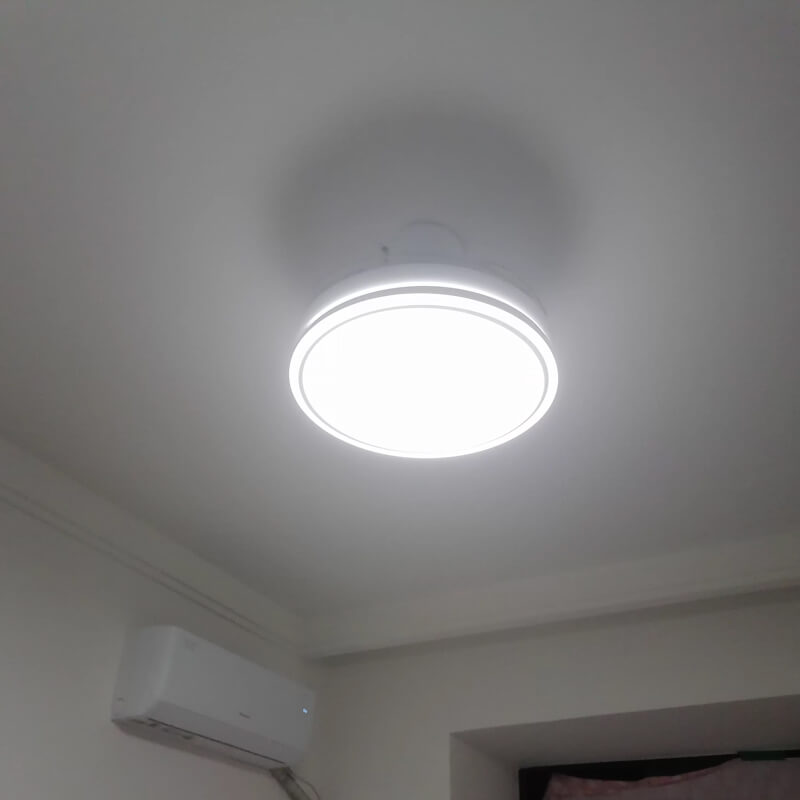
Changing your ceiling fan light can refresh a room. It can also improve brightness and energy efficiency. But not all fixtures fit every fan. Understanding compatibility is key. This guide explains how to safely swap your ceiling fan light.
You may want a new fixture for style, better lighting, or energy savings. Old lights may not support LED bulbs or may look outdated. Replacing the fixture modernizes your space and improves light quality.
Ceiling fan lights come in bowl, downrod-mounted, or integrated LED kits. Identify your current type to ensure compatibility.
Refer to your fan’s manual for maximum wattage. Using a fixture that exceeds limits is unsafe. Ensure the replacement matches the home voltage.
Measure the fixture and mounting hardware. Some fans only support certain sizes or weights. Too heavy or wide a fixture may unbalance the fan.
There are several options depending on your style and function needs:
| Fixture Type | Style | Brightness | Weight | Compatibility Notes |
|---|---|---|---|---|
| Bowl Light | Classic, enclosed | Medium | Light | Works with most standard fans |
| Mini Chandelier | Decorative | High | Light | Best for low to medium-ceiling fans |
| LED Panel | Modern, sleek | Adjustable | Ultra-light | Energy-efficient, may need remote/dimmer check |
This table helps you quickly compare options for your ceiling fan light replacement.
Ensure the socket type matches the old fixture (common: E26 or E12). Mismatched bases may need adapters or prevent installation.
The fixture should suit your room style and provide enough brightness. Style alone isn’t enough—function matters.
Always cut the power at the breaker before working. Follow local electrical codes.
Heavy fixtures may wobble. Ensure your fan supports the weight for safe operation and long life.
Older fans may have single wires. New fixtures may need separate wires. Label wires and follow diagrams.
Check that new lights are compatible with remotes or dimmers. Some LEDs may not work with older controls.
Flickering usually comes from incompatible bulbs or dimmers. Check connections, wattage, and bulb type.
Call a professional if:
Standard bowl lights are usually safe for DIY installation. Follow instructions carefully.
Using approved fixtures ensures proper fit and keeps your warranty valid. It also reduces risk.
Dust reduces light output and fan efficiency. Clean blades and fixtures regularly.
Inspect wires and screws every few months. Tighten loose parts to avoid flickering or hazards.
Switching to LED bulbs saves energy and lasts longer. Ensure bulb compatibility.
Looking to replace your ceiling fan light? Fill out a quote request with your fan type, fixture style, and location. Our team will provide:
Contact Form Suggestion:
Replacing your ceiling fan light is simple if you follow safety, compatibility, and style tips. Measure carefully, check wattage, and follow installation steps. Small DIY swaps refresh your space, while electricians handle complex setups.
Key Takeaways:
Quick customized solution,and it takes 3-10 days after confirming detail.
If you like our lights, one free sample can be provided for reference.
We focus on high quality lights only. Your interiors need high quality.
Top quality lights has very high value. We protect it well for shipment.
Our team is available 24/7, and you can expect a response to your inquiries within 2 hours.
We are ready to answer right now! Sign up for a free consultation.
I consent to the processing of personal data and agree with the user agreement and privacy policy
